Labels

Saturday, April 28, 2012

Where has the time gone?

So, it's been a while since my last post.  What can I say?  It's been busy.  Kids have been sick, housework has piled up, and so I haven't gotten around to my craft desk lately.  But life goes on, and here I am!  :-)

I just wanted to take a second to show you some of my favorite appliqued shirts available on my etsy page.  Shirts are made to order, and can be made in infant sizes up through child sizes.  I've even done some shirts for adults!


The possibilities are endless!  I'm also on facebook!  You can like my page here.

Saturday, April 14, 2012

The Reusable Swiffer Cover


When I saw this over at Cami's Blog, I thought it was such a great idea!  No more spending money on those wasteful disposable swiffer pads! 

I threw this swiffer cover together in less than 30 minutes.  I had everything I needed already in my craft closet, but you may need to find a few things at the craft store:

-terry cloth fabric (or any fabric that's sturdy enough for cleaning floors)
-elastic
-scissors
-thread/sewing machine

I laid my swiffer on top of my fabric.  You want to cut it out about 2 inches larger than your swiffer, so it has room to stretch around it.


Finish the edge by sewing a zigzag stitch (or serging) all the way around to prevent fraying.

Now it's time to sew on the elastic onto the wrong side of the fabric.  If you're using terry, there's really no "wrong" side.  (Remember to use a zigzag stitch to keep the elastic stretchy!)  As you sew, pull the elastic so it's as stetched out as possible.  This step is a bit tricky, so take it slow.


By the way, I should probably let Dritz and Swiffer know about all the free advertising I've given them.

And that's it!  Put it on your Swiffer and you're ready to clean! 


Wednesday, April 4, 2012

Angel Food Cake French Toast

Half breakfast, half dessert.  Yes, please!


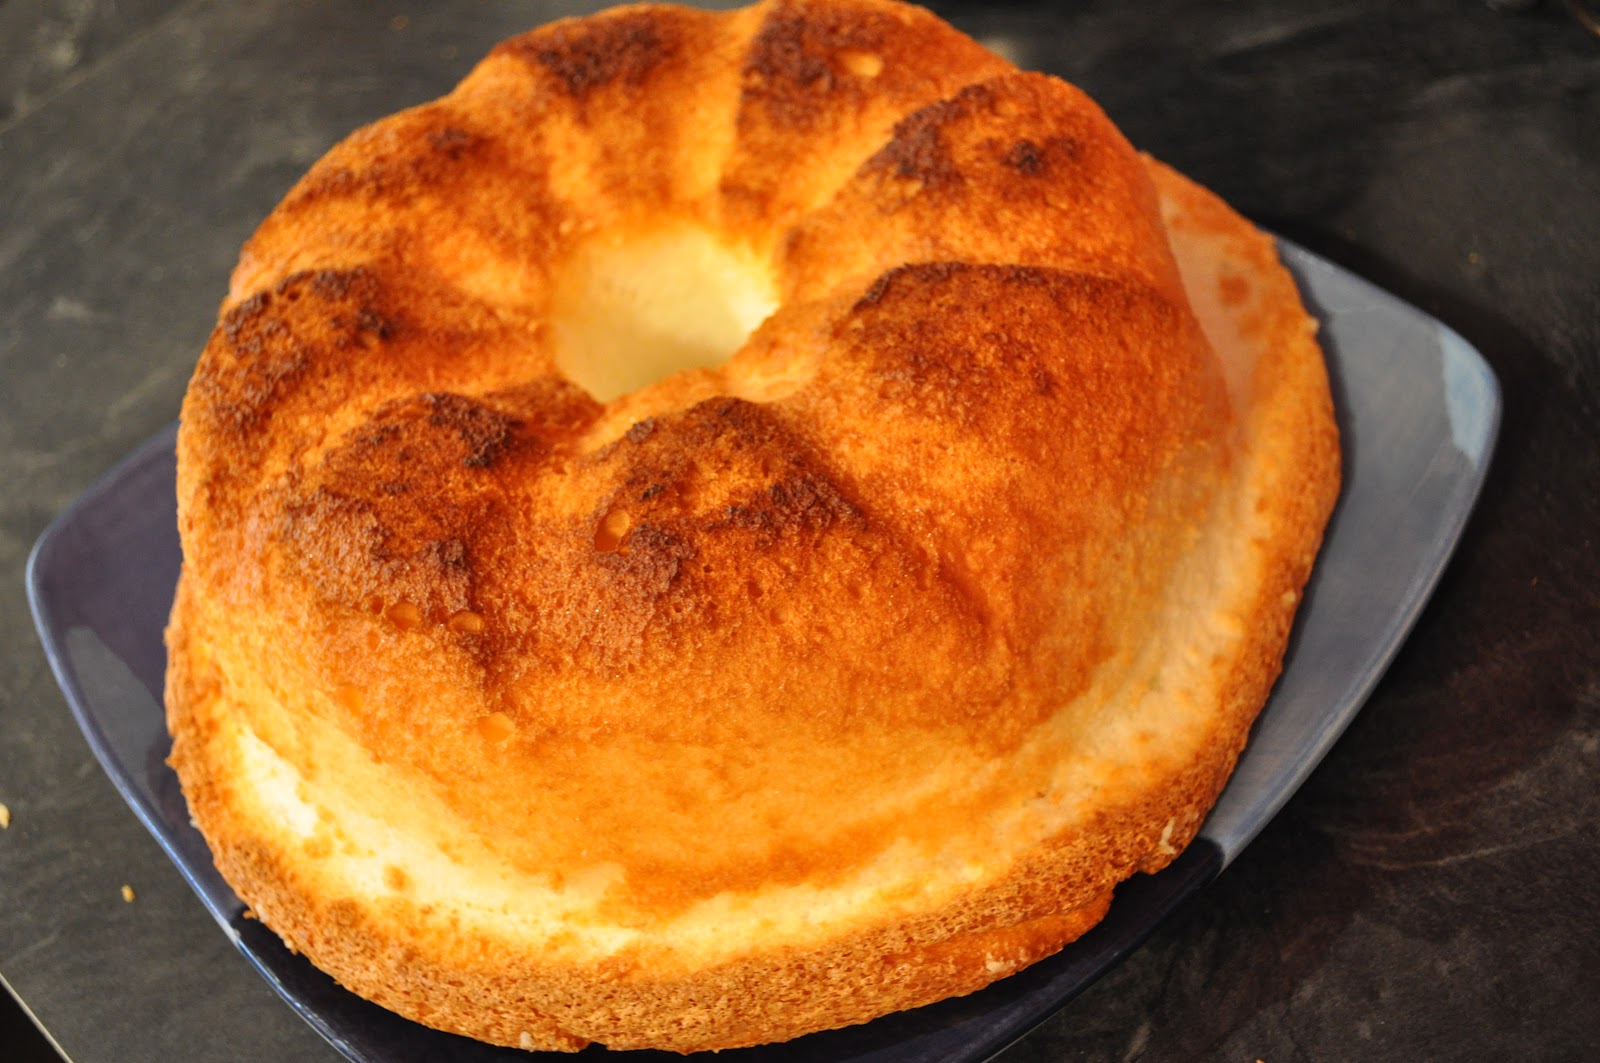
Mix up your regular ol' angel food cake mix according to directions.


FYI....


But go ahead.  I know you want to.  I won't tell a soul.


Ah, perfection!


Mix up your egg batter: 6 beaten eggs, 1 1/2 cups of milk, 3 Tbsp of sugar, and 2 tsp of vanilla.


Cut your angel food cake into 1 inch slices, and dip each slice in the egg batter for 1 minute per side.


Cook slices on a griddle until golden.  Serve with maple syrup.


 It is very sweet, and very filling.  But oh so good!  I felt a little guilty eating cake for breakfast, but I got over it!  Hope you enjoy it!


Recipe from: http://www.bhg.com/recipe/sponge-cakes/french-toasted-angel-food-cake/

Friday, March 30, 2012

Raspberry Butter

WARNING!  This butter is so incredibly good, you'll find it hard not to eat spoonfuls of it.  Seriously.

It definitely looks good, don't you think?


We put it on biscuits, but here are a few more ideas to put your raspberry butter on:

Pancakes, bagels, english muffins, toast... the possibilities are endless!

Raspberry Butter

1 stick of butter
1/4 cup of raspberry preserves
2 Tbsp powdered sugar


I think I want to try making this with other preserve flavors.  Blueberry?  Strawberry?  Yes, please!


This yummy recipe came from One More Moore.  

Monday, March 26, 2012

The Taggy Blanket

This is C's little Taggies Blankie, the fancy, expensive "name brand" that we bought when she was a baby.  You know, the days when we had extra money to throw around.  (Let's just say we're much more thrifty these days!  )


B LOVES cuddling with it.  The only problem is, it's very girly.  Don't get me wrong, there's nothing wrong with a boy playing with "girly" things, it's just I thought it would be nice for him to have his own.

And so it begins... double the amount of stuff because you need both the girl AND boy version.  By the way, this is one of the first things I thought of when I first found out we were having a boy.  OH MY, we're going to have twice the amount of toys, clothing, STUFF, etc....


But I digress.

Here's how I made this Daddy-approved taggy blanket.  Go Phillies!

Materials:
-2 pieces of coordinating fabric (I used 1 fleece and 1 flannel)
-matching ribbon, cut into small strips
-straight pins
-thread
-sewing machine

This blanket is not very big.  It's just enough for your little one to snuggle up with.  Cut 2 pieces of coordinating fabric about a square foot in size.  Place pieces right side together.


Take a piece of ribbon and fold it in half.  Place the folded side inside the two layers (so the cut ends go slightly past the edge of the fabric.)  Do this around all 4 edges.

Here's what it will look like when the blanket gets turned right side out....


Sew all around the edges, leaving a small opening to turn right side out.

Turn it right side out, and top stitch around the whole blanket, closing the hole.

And here's your finished blanket!


And now both kiddos can cuddle with their own blankies!

Wednesday, March 21, 2012

Girl's Night!

My girlfriends and I get together every month.  We used to go out to eat, but now we each take turns hosting in our homes, which is way more fun!

March was my month to host.  Of course I took the opportunity to try out some new recipes!

Don't they look yummy?

I made grilled eggplant with Italian style tomatoes, tortellini skewers with pesto dipping sauce, and pizza monkey bread.  These were all new recipes I found via pinterest.  (Follow me here!)

Each recipe was slightly adjusted from the original, and here's what I did:

Grilled Eggplant
(Idea from Laylita's Recipes)

Slice up your eggplant and toss with some oil, salt and pepper.  Then I used my trusty old George Foreman grill to grill the eggplant slices.  (Shhhhh, don't tell anyone- I used canned diced tomatoes that were already seasoned with garlic, oregano, and basil.)  There's nothing wrong with shortcuts in my book!  ;)  Then I sprinkled each appetizer with Parmesan cheese.


Pizza Monkey Bread

(Idea from Confections of a Foodie Bride)

I pretty much followed her directions, except I left out the pepperoni.  (Did you notice all of my recipes are meatless?  One of my besties is vegetarian!)

This turned out SO WELL!  I highly recommend it.

This is before it went in the oven....

And this is after it came out of the oven....

After I flipped it onto the plate... ta da!

Tortellini Skewers

This was the simplest of my recipes, but made a great presentation.  And who doesn't love cheese-filled tortellini?

I boiled the tortellini, stuck them on some skewers, and cracked open a jar of pesto sauce.  (You didn't think I actually made the pesto sauce, did you?)